How to make a cut-ready Cricut stencil SVG with bridges from a photo
- Choose your photo in the tool above. It is processed in your browser, not uploaded.
- Drag the threshold until the black-and-white preview reads clearly. Bridges are on by default: any piece that would fall out, like the middle of an O or an eye, is joined to the sheet automatically (2 mm for vinyl, 3–4 mm for mylar or card).
- Enter the finished width, for example 20 cm for a tote bag.
- Click Export SVG and, in Cricut Design Space, use Upload → Upload Image. The file is sized in millimetres and cuts as-is.
Preview and a printable tiled PDF are free; the SVG is $1.99 per image, paid once with no account or subscription.
Example: photo to stencil
 Original
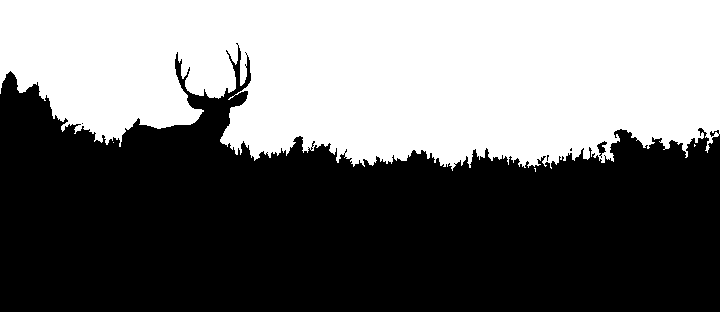 Stencil, threshold 80
Why this beats tracing in Design Space
Cricut Design Space can remove a background, but it does not know which parts of a stencil will fall out once they are cut. Islands such as the inside of an O or the white of an eye either drop out or have to be bridged by hand. TileStencil finds them and adds bridges automatically, removes specks too small to weed, and exports closed paths at the exact size, so the file is ready to cut as soon as it is uploaded.
Good projects to start with
- Pet portraits and family photos on tote bags and T-shirts (fabric paint through stencil vinyl)
- Signs and house numbers painted on wood
- Glass etching with etching cream
- Wall and furniture stencils cut from reusable mylar
- Lettering: use the letter stencil generator and export its SVG the same way
Cutting tips
- Mirror is not needed for stencils: cut the design the right way round.
- Weed the black areas out; they are where paint goes through.
- Use transfer tape to move vinyl stencils so the bridges and small pieces stay in position.
- For big designs, print a tiled paper version first to check placement before cutting material.
Frequently asked questions
How much does the SVG cost?
Previews, adjustments, and printing a tiled PDF are free. The cut-ready SVG is $1.99 per image, paid once by PayPal or debit/credit card with no account and no subscription; after that you can re-export the same image as often as you like. There is a 14-day money-back guarantee.
How do I make a stencil for my Cricut from a photo?
Choose the photo on this page, adjust the threshold until the black-and-white preview looks right, enter the size you want, and click Export SVG. In Cricut Design Space, use Upload → Upload Image and pick the SVG; it comes in as a cut-ready image with every bridge already in place.
Will the SVG import at the right size in Cricut Design Space?
The file states its size in millimetres, which Design Space and most cutting software read correctly. Check the width shown after import, and if it differs, type the width you entered here; the proportions stay locked.
What material should I cut a stencil from?
Stencil vinyl or adhesive vinyl for one-off projects on shirts, glass, and wood; 5–7 mil mylar for reusable stencils you will spray or sponge many times; cardstock for quick tests. Use 2 mm bridges for vinyl and 3–4 mm for mylar or card.
Does it work with laser cutters?
Yes. The SVG contains closed paths, so LightBurn, xTool Creative Space, and Glowforge treat each shape as a cut line. Set the layer to cut rather than engrave.
Why don't parts of my design fall out after cutting?
That is what the bridges are for. Any piece completely surrounded by cut lines would drop out, so TileStencil connects each one to the rest of the sheet with a thin strip along the shortest path. Turn bridges off to see those pieces highlighted in red.