Example: photo to stencil
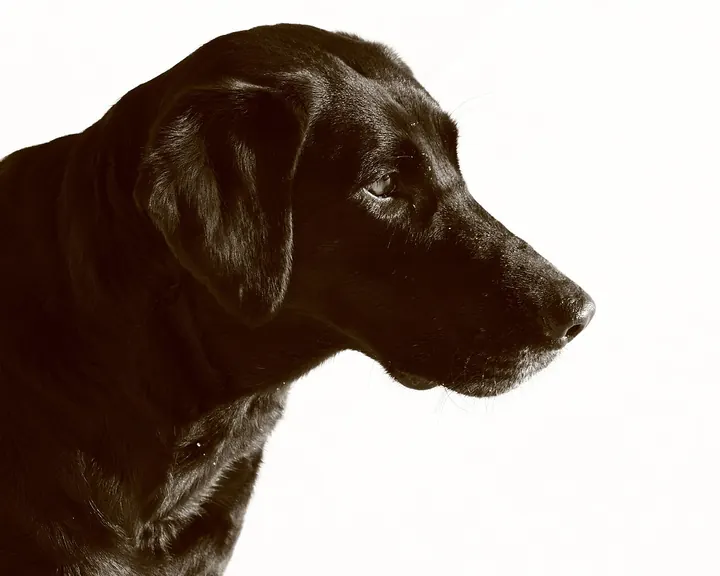 Original
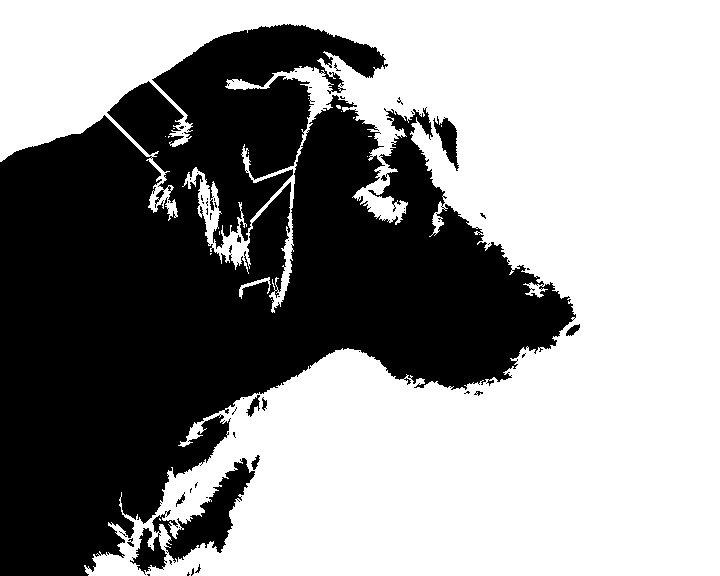 Stencil, threshold 45
What this stencil maker does
Most online stencil makers stop at a black-and-white image. That is not a stencil yet: cut it out and the middle of every letter O, eye, and ring falls away. TileStencil finds those islands and adds bridges automatically, removes specks too small to cut, then splits the result into numbered pages at the exact physical size, with overlap and trim marks for assembly.
How the automatic bridges work
- Islands are detected for you. Any white area completely surrounded by black would fall out when cut. Switch bridges off to see them in red.
- Each bridge takes the shortest route. A thin strip is carved from the island to the nearest part of the sheet that is already held, so bridges stay short and unobtrusive.
- You choose the width. 2 mm suits paper and card; use 3–4 mm for mylar or cardboard you will spray many times.
- Tiny specks are cleaned up. Details under about 1.5 mm cannot be cut cleanly, so they are removed before printing.
Getting a clean stencil from a photo
- Start with contrast. Side lighting on a face, or a dark object on a light wall, gives the clearest shapes.
- Crop first. Remove background clutter before you choose the file; the threshold treats every pixel the same way.
- Watch the eyes and edges. Move the slider until eyes, mouth, and outline are readable at a glance. If the face fills with black, lower the threshold.
- Use Invert for cut-out style. Invert swaps black and white, which helps when you want to paint the subject rather than the background.
Common uses
- Spray paint and airbrush stencils for walls, signs, and furniture
- Wood burning and scroll saw outlines traced onto boards
- T-shirt and tote bag stencils for fabric paint
- Cake and cookie stencils printed at the exact pan size
- Halloween pumpkins: see the pumpkin stencil maker for sizing tips
Frequently asked questions
Can I export the stencil as an SVG for Cricut, Silhouette, or a laser cutter?
Yes. In black-and-white template mode, choose Export SVG. The file contains closed cut paths with the bridges already in place, sized in millimetres to the width you entered, so it imports at the right size into Cricut Design Space, Silhouette Studio, LightBurn, or Inkscape. The SVG costs $1.99 per image, paid once; printing the PDF stays free.
How do I turn a photo into a stencil for free?
Open this page, choose your photo, and drag the threshold slider until the black-and-white preview shows a clean outline. Set the size you need and export the PDF. It is free, needs no account, and the photo never leaves your browser.
What kind of photo makes a good stencil?
High-contrast photos with one main subject work best: a face lit from one side, a pet on a plain background, a logo, or a silhouette. Busy backgrounds turn into speckles. Crop close to the subject before you start.
What does the threshold slider do?
Every pixel brighter than the threshold becomes white and every darker pixel becomes black. A lower value gives thinner, simpler shapes; a higher value keeps more shadow detail. There is no single right number, so judge it by the preview.
Why do pieces fall out when I cut a stencil, and how do bridges fix it?
Closed shapes such as the centre of an O or the white of an eye are islands: once the black around them is cut, they drop out. With automatic bridges on, TileStencil finds every island and carves a thin strip connecting it to the rest of the sheet along the shortest path. Turn bridges off to see the islands highlighted in red.
Can I make a stencil bigger than my printer paper?
Yes. That is what TileStencil is built for. Enter the finished size, for example 120 cm wide for a wall, and it splits the stencil into numbered pages with overlap and alignment marks so the pieces line up after printing.