Example: photo to stencil
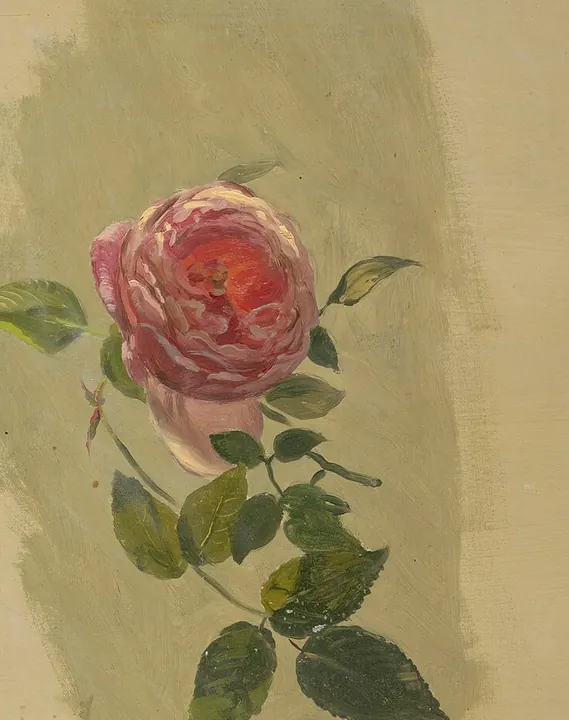 Original
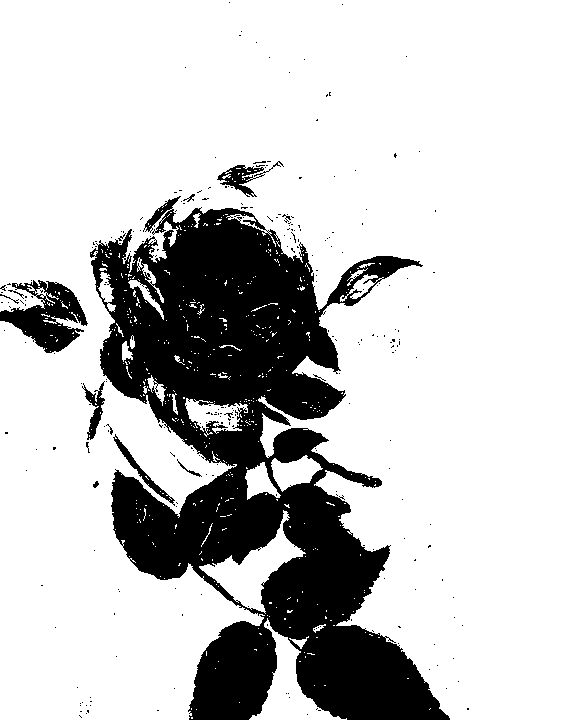 Stencil, threshold 130
From design to stencil in one step
A stencil only needs the lines. Grey shading, paper texture, and phone-camera shadows all smudge on transfer paper. The threshold slider removes them: everything lighter than the cut-off turns white, everything darker becomes a solid line, and the preview shows exactly what will print.
Getting a clean line
- Scan or photograph flat. Shoot the drawing straight on in daylight so the background is even.
- Start low, then raise. Begin with a low threshold for outlines only, then raise it until thin lines connect without the paper turning grey.
- Print a size test. A plain-paper print held against the placement catches sizing mistakes before you use transfer paper.
- Mirror if your transfer method needs it. Some hand-tracing methods need a reversed image; flip the file in any photo app before loading it.
Making a stencil for paint, fabric, or wood instead? Use the general photo to stencil maker.
Frequently asked questions
How do I make a tattoo stencil from a picture?
Choose the picture here, move the threshold slider until only the lines you want to keep are black, enter the width of the placement, and export the PDF. Print it at 100% scale onto transfer paper, or onto plain paper for tracing.
Can I print a tattoo stencil with a normal printer?
Yes. Inkjet tattoo transfer paper is made for regular inkjet printers. Thermal stencil printers give a sharper line, but you can also print on plain paper and trace onto thermal paper by hand. Always choose Actual Size so the design is not shrunk.
How do I get the size right?
Measure the area on the body with a soft tape and enter that width. Print a test on plain paper and hold it in place before using transfer paper; it is cheaper to adjust the size now than after the stencil is on the skin.
Is my design uploaded anywhere?
No. Conversion and PDF creation happen entirely in your browser, so unreleased custom designs stay on your device.