Example: photo to stencil
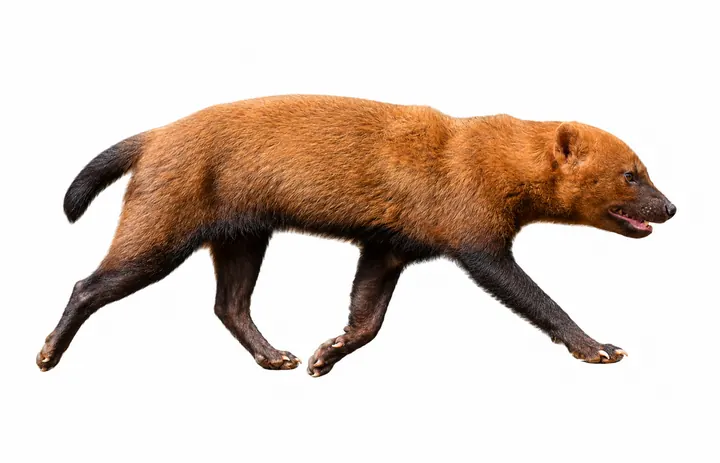 Original
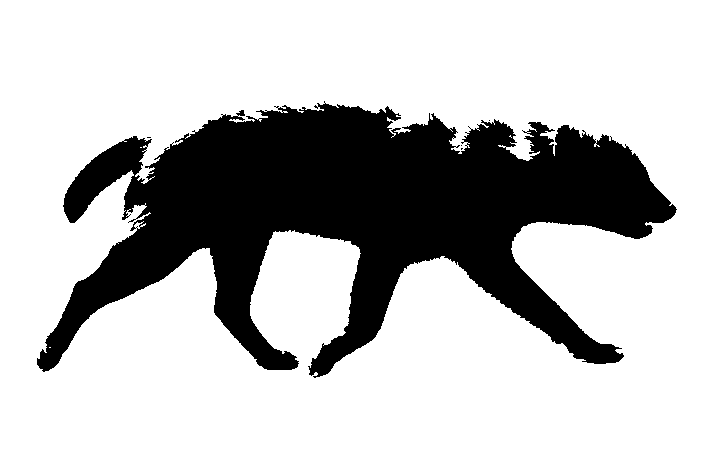 Stencil, threshold 150
Why make your own pumpkin stencil
Free pumpkin stencil galleries all offer the same cats, bats, and witches. A stencil made from your own photo (your dog, your kid in costume, your team logo) is the one people stop to look at. This tool turns that photo into bold black-and-white shapes and prints it at the size of your pumpkin.
Just want a quick classic face? Grab one of our free Halloween stencils: jack-o'-lantern faces, bats, black cats, and skulls with bridges already added.
Tips for a stencil that actually carves
- Keep shapes chunky. Anything thinner than about 5 mm (¼ in) on the printout will snap when you carve. Lower the threshold to drop fine detail.
- Islands are handled for you. The middle of an eye or a letter O would fall out when carved, so automatic bridges leave a thin strip of pumpkin connecting it to the rest. Use 3–4 mm bridges on a pumpkin; thinner ones can snap.
- Carve or scrape? Black areas are usually cut through. For a shaded portrait, scrape the skin off grey areas instead; the thin flesh glows softly when lit.
- Go bigger on large pumpkins. If the design is wider than one sheet of paper, TileStencil splits it across pages with overlap marks so it still lines up.
Tools you will need
- A pumpkin carving kit with a pin or poking tool and a small serrated saw
- Tape, and a soft tape measure for sizing
- A linoleum cutter or clay loop if you want to scrape shaded areas
Want to stencil something other than a pumpkin? Use the general photo to stencil maker for walls, shirts, wood, and signs.
Frequently asked questions
How do I make a pumpkin stencil from a picture?
Choose your picture on this page, move the threshold slider until the black-and-white preview shows clear, chunky shapes, enter the width of your pumpkin, and download the PDF. Print it at 100% and tape it to the pumpkin.
What size should a pumpkin stencil be?
Measure across the flattest face of the pumpkin with a soft tape measure. Most medium pumpkins take a 15–20 cm (6–8 in) stencil; large carving pumpkins can take 25–30 cm (10–12 in). Leave a margin so the design does not wrap too far around the curve.
Which photos carve well?
Photos with strong light and shadow: a pet facing the camera, a profile silhouette, or a simple logo. Small details such as whiskers or strands of hair are too thin to carve, so lower the threshold until they disappear.
How do I transfer the stencil to the pumpkin?
Tape the printed stencil to the pumpkin, then push a pin or poking tool through the paper every few millimetres along each edge. Remove the paper and connect the dots with your carving saw. Dusting flour over the holes makes them easier to see.
Is this pumpkin stencil maker free?
Yes. There is no sign-up, watermark, or page limit, and your photo is processed entirely in your browser.